Introduction:
Whether you’re a hobbyist, an aspiring detective, or simply curious about exploring the intricacies of the world around you, having a magnifying glass can be incredibly useful. Rather than buying one from a store, why not embark on a fun and fulfilling journey of creating your own ? In this blog post, we will guide you through the process, step by step, enabling you to craft a magnifying glass that is not only functional but also personalized to your liking. So, let’s dive in and unlock a world of detail with your very own homemade magnifying glass!
Understanding Magnification:
.png)
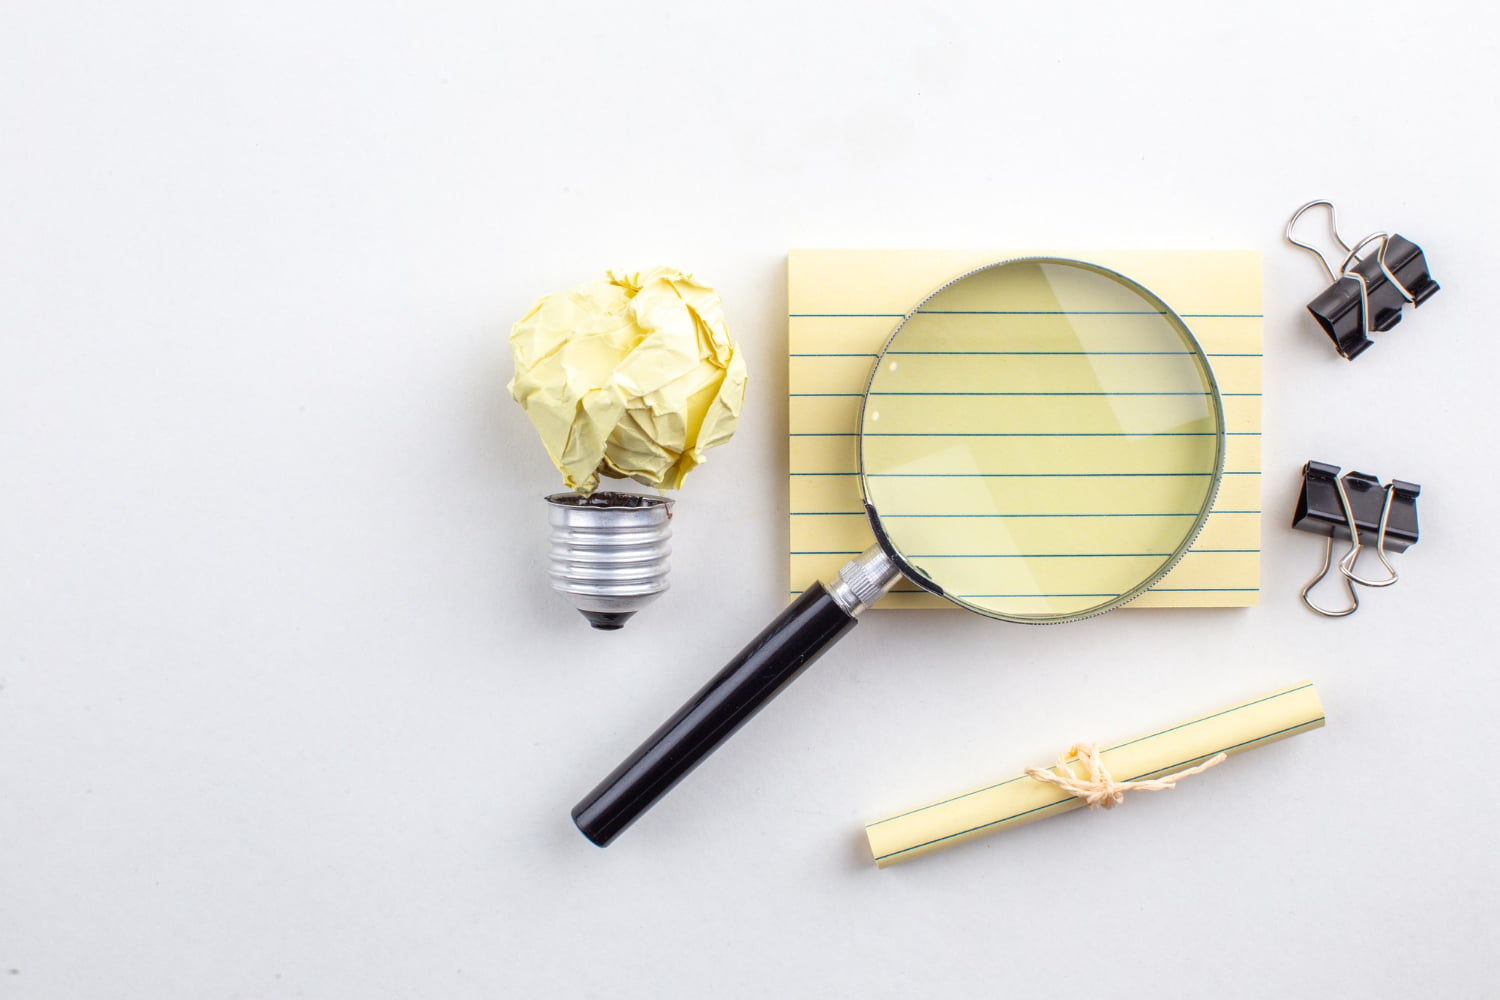
Gathering the Materials:
.png)
Materials required for construction:
- A convex lens: Look for a lens with a focal length between 50mm and 100mm, which will provide a good balance of magnification and ease of use.
- A handle: This can be a wooden dowel, a metal rod, or any other sturdy material that feels comfortable to hold.
- Adhesive: Depending on the materials you choose, you may need epoxy glue, super glue, or any other strong adhesive that can bond the lens to the handle securely.
- Decorative elements (optional): If you want to personalize your magnifying glass, consider adding decorative elements like beads, paint, or even engraving on the handle.
Construction Process:
.png)
Assembling process:
Step 1: Measure and cut your handle: Decide on the desired length of your handle and cut it accordingly. Sand the edges for a smooth finish.
Step 2: Prepare the lens: Clean your convex lens gently using a lens cleaning solution or a mild soap and water. Dry it thoroughly with a lint-free cloth to ensure optimal clarity.
Step 3: Position the lens: Apply the adhesive to one end of the handle and carefully attach the convex lens to it. Make sure it is centered and securely bonded. Follow the instructions provided with the adhesive for the best results.
Step 4: Allow the adhesive to cure: Give the adhesive enough time to fully cure as per the manufacturer’s instructions. This ensures a strong and durable bond between the lens and the handle.
Step 5: Personalize your magnifying glass (optional): If desired, add decorative elements to the handle to give a unique touch. Let your creativity shine!
Care and Maintenance:
.png)
Care Tips:
- Store it in a protective case or pouch when not in use to prevent scratches or damage.
- Clean the lens regularly using a microfiber cloth or lens cleaning solution to remove any smudges or debris.
- Avoid exposing the magnifying glass to extreme temperatures or direct sunlight, as this can damage the lens.
Exploring with Your DIY Magnifying Glass:
.png)
Now that you have your DIY magnifying glass ready, it’s time to embark on exciting explorations and discoveries. Here are a few ideas to get you started:
Nature Exploration:
Take your magnifying glass outdoors and explore the wonders of nature up close. Observe intricate patterns on leaves, examine the delicate structure of flowers, or inspect tiny insects and their fascinating details.
Coin and Stamp Collecting:
If you’re a coin or stamp enthusiast, your DIY magnifying glass will become an invaluable tool. Use it to examine the fine details and markings on coins, stamps, or any other small collectibles, enhancing your appreciation for their craftsmanship.
DIY Repair and Maintenance:
Magnifying glasses are handy when working on intricate DIY projects or repairs. Whether it’s soldering tiny electronic components or fixing delicate jewelry, your it will help you see every detail clearly, making your tasks easier and more precise.
Reading Fine Print:
Are you struggling to read small print in books, magazines, or product labels? Your DIY magnifying glass can come to the rescue! It will allow you to comfortably read fine print without straining your eyes, making reading a more enjoyable experience.
Safety Precautions:
While using your DIY magnifying glass, it’s important to keep a few safety precautions in mind:
Avoid direct sunlight: Directing the focused light of a magnifying glass onto flammable materials can start a fire. Exercise caution and avoid exposing the lens to direct sunlight for extended periods.
Use proper lighting:
Ensure that you have adequate lighting when using your magnifying glass to prevent eye strain and enhance visibility. Natural daylight or a well-lit environment is ideal.
Be mindful of fragile objects:
When examining delicate or valuable objects, handle them with care to prevent accidental damage. The magnifying glass may have a focal point that can create heat, so avoid placing it directly on sensitive materials.
Conclusion:
Congratulations! You’ve successfully crafted your very own DIY magnifying glass. This invaluable tool will now accompany you on countless adventures, unveiling the hidden details of the world around you. Remember, practice using your magnifying glass to develop your observation skills and unlock a realm of intricate beauty. Enjoy exploring and discovering new wonders with your homemade creation!
