Introduction:
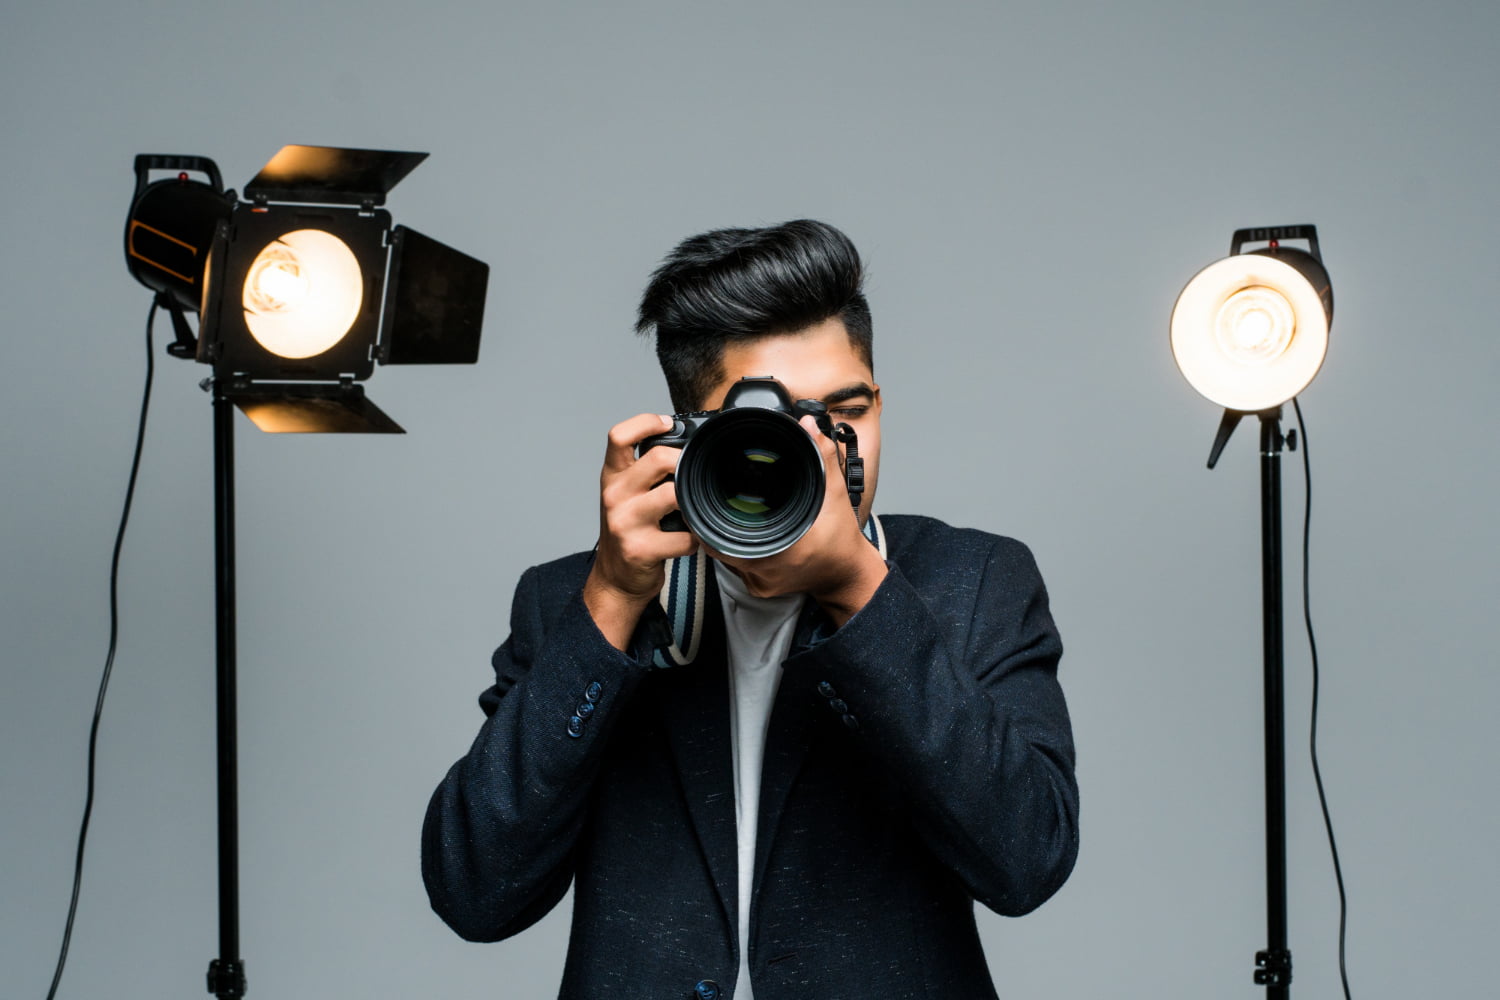
Creating your own DIY photography lights is an excellent way to enhance your portrait photography without breaking the bank. Whether you’re a professional photographer or an enthusiast looking to improve your skills, this blog post will guide you through the process of creating affordable and effective lighting setups for captivating portrait shots. By using simple and readily available materials, you can achieve professional-looking results and unlock your creative potential. Let’s dive into the step-by-step process of creating your own DIY photography lights.
Understanding the Importance of Lighting:
DIY Softbox:

Here’s how you can create your own DIY softbox:
a. Materials Needed:
- A sturdy cardboard box
- White fabric or tracing paper
- Aluminum foil
- Scissors
- Tape or glue
b. Construction Steps:
- Cut out square or rectangular openings on opposite sides of the cardboard box.
- Cover the openings with white fabric or tracing paper, ensuring a smooth and even surface.
- Line the inside of the box with aluminum foil to maximize light reflection.
- Secure the fabric, tracing paper, and aluminum foil in place using tape or glue.
c. Usage Tips:
- Place a light source, such as a lamp or flash, outside the softbox to create diffused light.
- Experiment with the distance between the light source and the softbox to control the intensity of the light.
DIY Ring Light:
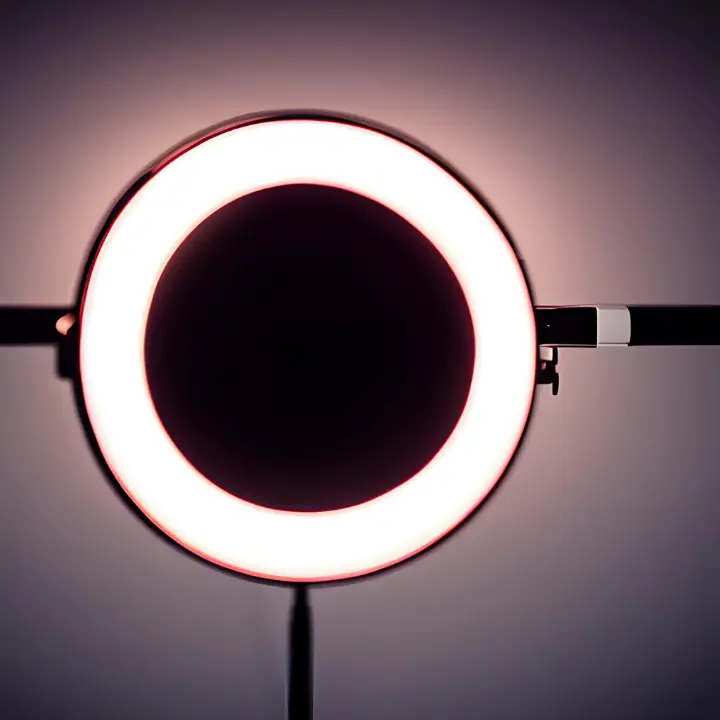
Here’s how you can create a DIY ring light:
a. Materials Needed:
- LED strip lights or LED light bulbs
- Cardboard or PVC pipe
- Scissors
- Tape or glue
- Power source or battery pack
b. Construction Steps:
- Cut a circular shape out of the cardboard or PVC pipe, keeping in mind the desired size of your ring light.
- Attach the LED strip lights or LED bulbs along the inner edge of the circular shape.
- Connect the LED lights to a power source or battery pack.
- Secure the LED lights in place using tape or glue.
c. Usage Tips:
- Mount the DIY ring light onto a tripod or hold it directly in front of your camera lens to achieve the desired lighting effect.
- Experiment with the distance between the subject and the ring light to achieve different levels of illumination.
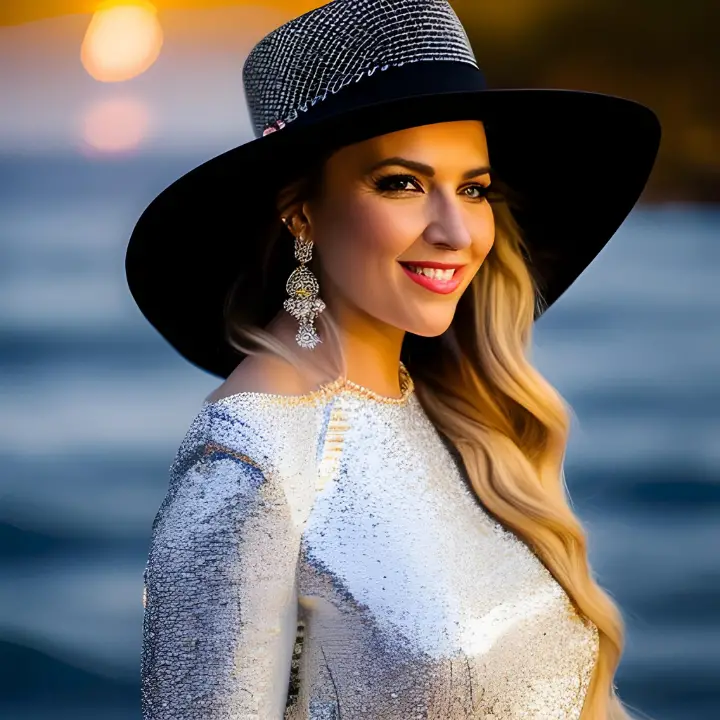
Natural Light Hacks:
Here are some simple tips to optimize natural lighting conditions:
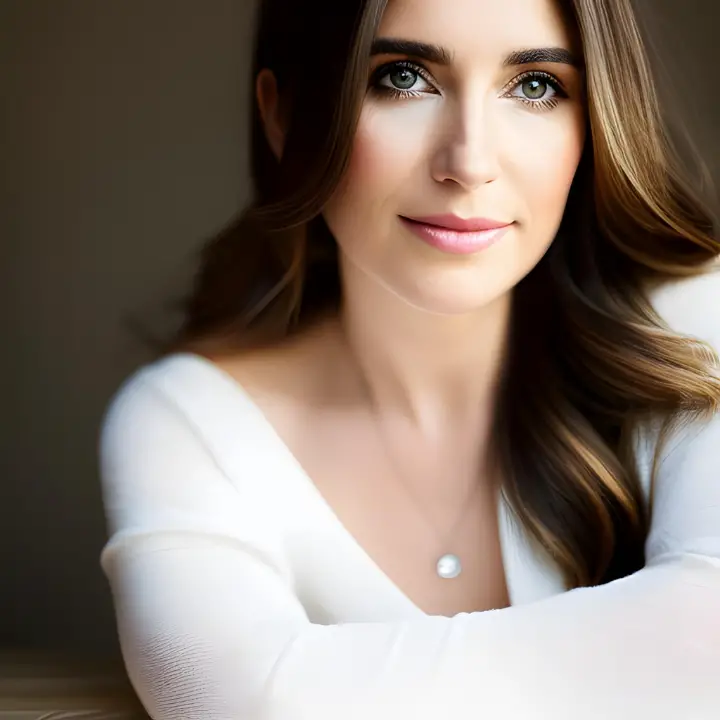
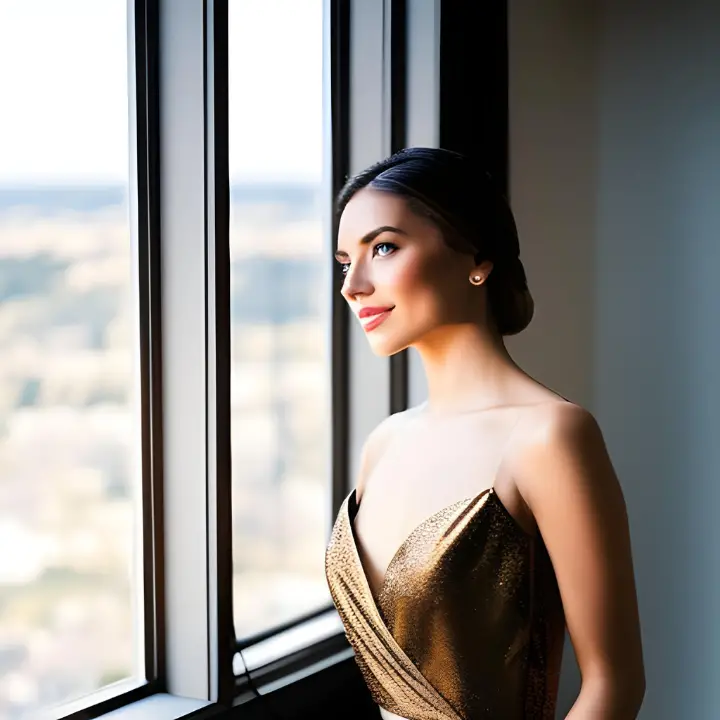
a. Window Lighting:
- Position your subject near a large window to take advantage of soft, diffused light.
- Use a sheer curtain or white fabric to diffuse harsh sunlight if needed.
- Experiment with the angle and direction of the natural light to achieve different effects.
b. Reflectors:
- Utilize reflective surfaces, such as foam boards or white poster boards, to bounce light onto the subject’s face.
- Place reflectors strategically to fill in shadows and create a more balanced lighting setup.
DIY Umbrella Diffuser:
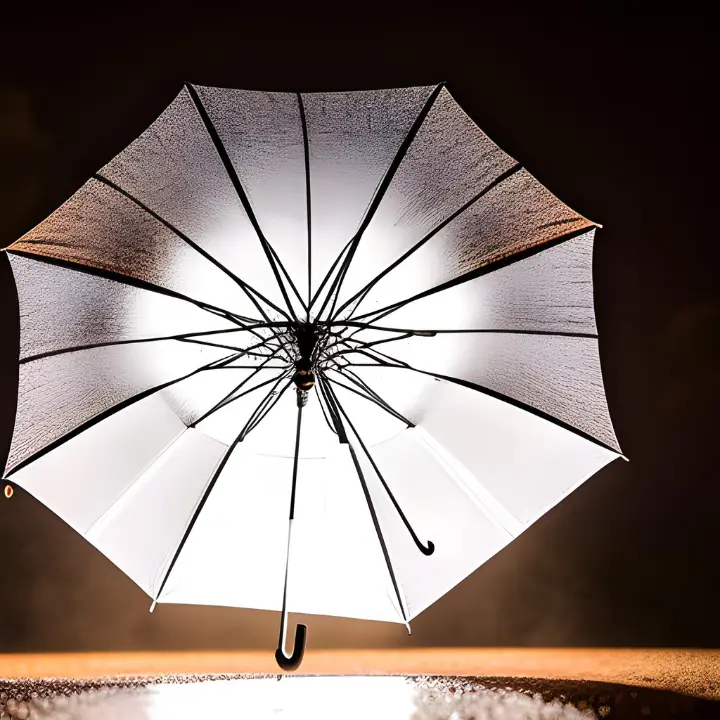
Here’s how you can create one:
a. Materials Needed:
- White umbrella
- White fabric or tracing paper
- Scissors
- Tape or glue
b. Construction Steps:
- Remove the umbrella’s fabric cover, leaving only the frame.
- Cut a piece of white fabric or tracing paper large enough to cover the open frame of the umbrella.
- Attach the fabric or tracing paper to the umbrella frame using tape or glue, ensuring a smooth and even surface.
- Reattach the fabric-covered umbrella frame to the main shaft.
c. Usage Tips:
- Position a light source, such as a flash or continuous light, behind the umbrella diffuser to create soft, diffused light.
- Experiment with the distance between the light source and the diffuser to control the intensity and spread of the light.
DIY Colored Gels:
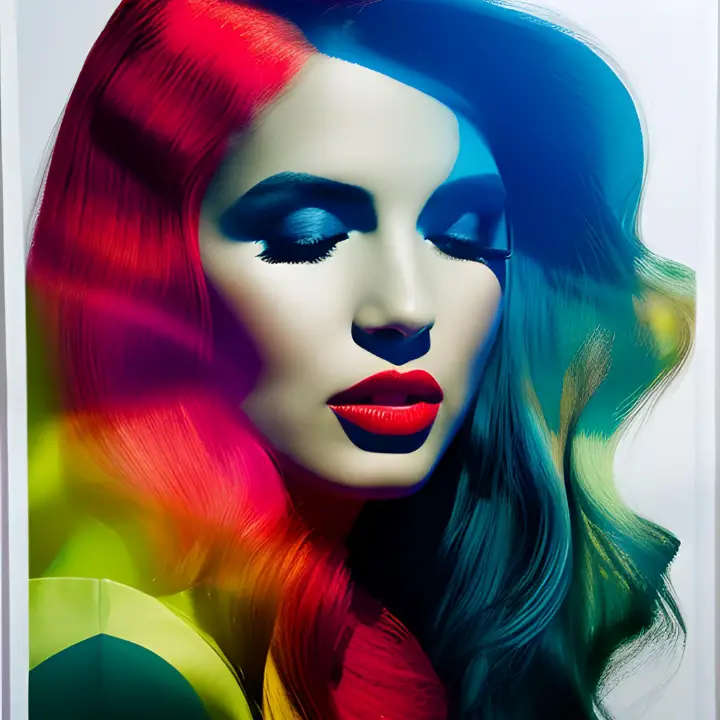
Colored gels can add a creative and dramatic touch to your portrait lighting.
Here’s how you can create your own DIY colored gels:
a. Materials Needed:
- Transparent plastic sheets or colored cellophane
- Scissors
- Tape or elastic bands
b. Construction Steps:
- Cut the transparent plastic sheets or colored cellophane into small squares or rectangles.
- Attach the colored gels to your light source using tape or elastic bands.
- Experiment with different colors and layering techniques to achieve unique lighting effects.
c. Usage Tips:
- Place the colored gels directly in front of your light source to cast colored light onto your subject.
- Combine different colored gels or use them individually to create a variety of mood and atmosphere in your portraits.
DIY Background Lighting:
Here’s a simple method to create a background lighting setup:
a. Materials Needed:
- LED strip lights or string lights
- Tape or adhesive hooks
- Power source or battery pack
b. Construction Steps:
- Mount the LED strip lights or string lights onto the wall or backdrop behind your subject.
- Secure the lights in place using tape or adhesive hooks.
- Connect the lights to a power source or battery pack.
c. Usage Tips:
- Adjust the brightness and color temperature of the background lights to complement the main lighting setup and create an appealing visual contrast.
- Experiment with different lighting patterns or shapes using the LED strip lights to add depth and interest to your portraits.
Remember to always prioritize safety when working with DIY lighting setups. Ensure that electrical connections are secure, and use caution when handling lighting equipment to avoid any accidents or damage.
Conclusion:
Creating your own DIY photography lights for portrait photography not only helps you save money but also allows you to explore your creativity and achieve unique lighting effects. From softboxes to ring lights, natural light hacks to colored gels, and background lighting, the possibilities are endless. Embrace experimentation, practice, and refine your lighting techniques to capture breathtaking portraits that showcase the beauty and personality of your subjects. Enjoy the process and let your DIY lighting setups elevate your photography skills to new heights.
