Introduction:
Long, voluminous lashes are a coveted beauty feature that can enhance your eyes and elevate your overall look. While professional lash extensions provide stunning results, they can be costly and time-consuming to maintain. However, with the right tools, techniques, and a little practice, you can achieve gorgeous lashes from the comfort of your own home. In this guide, we will provide you with professional tips and step-by-step instructions on how to do DIY lash extensions effectively and safely.
Gather the Necessary Tools and Supplies:
Before you embark on your DIY lash extension journey, it’s essential to gather all the tools and supplies you’ll need. Here’s a list of items you should have on hand:
- High-quality eyelash extensions (individual or strip lashes)
- Tweezers (straight and curved)
- Lash adhesive (specifically formulated for individual lashes)
- Lash glue remover
- Lash primer or cleanser
- Lash adhesive rings or pallets
- Lash comb or spoolie brush
- Scissors (specifically for trimming lashes)
- Magnifying mirror (optional but helpful)
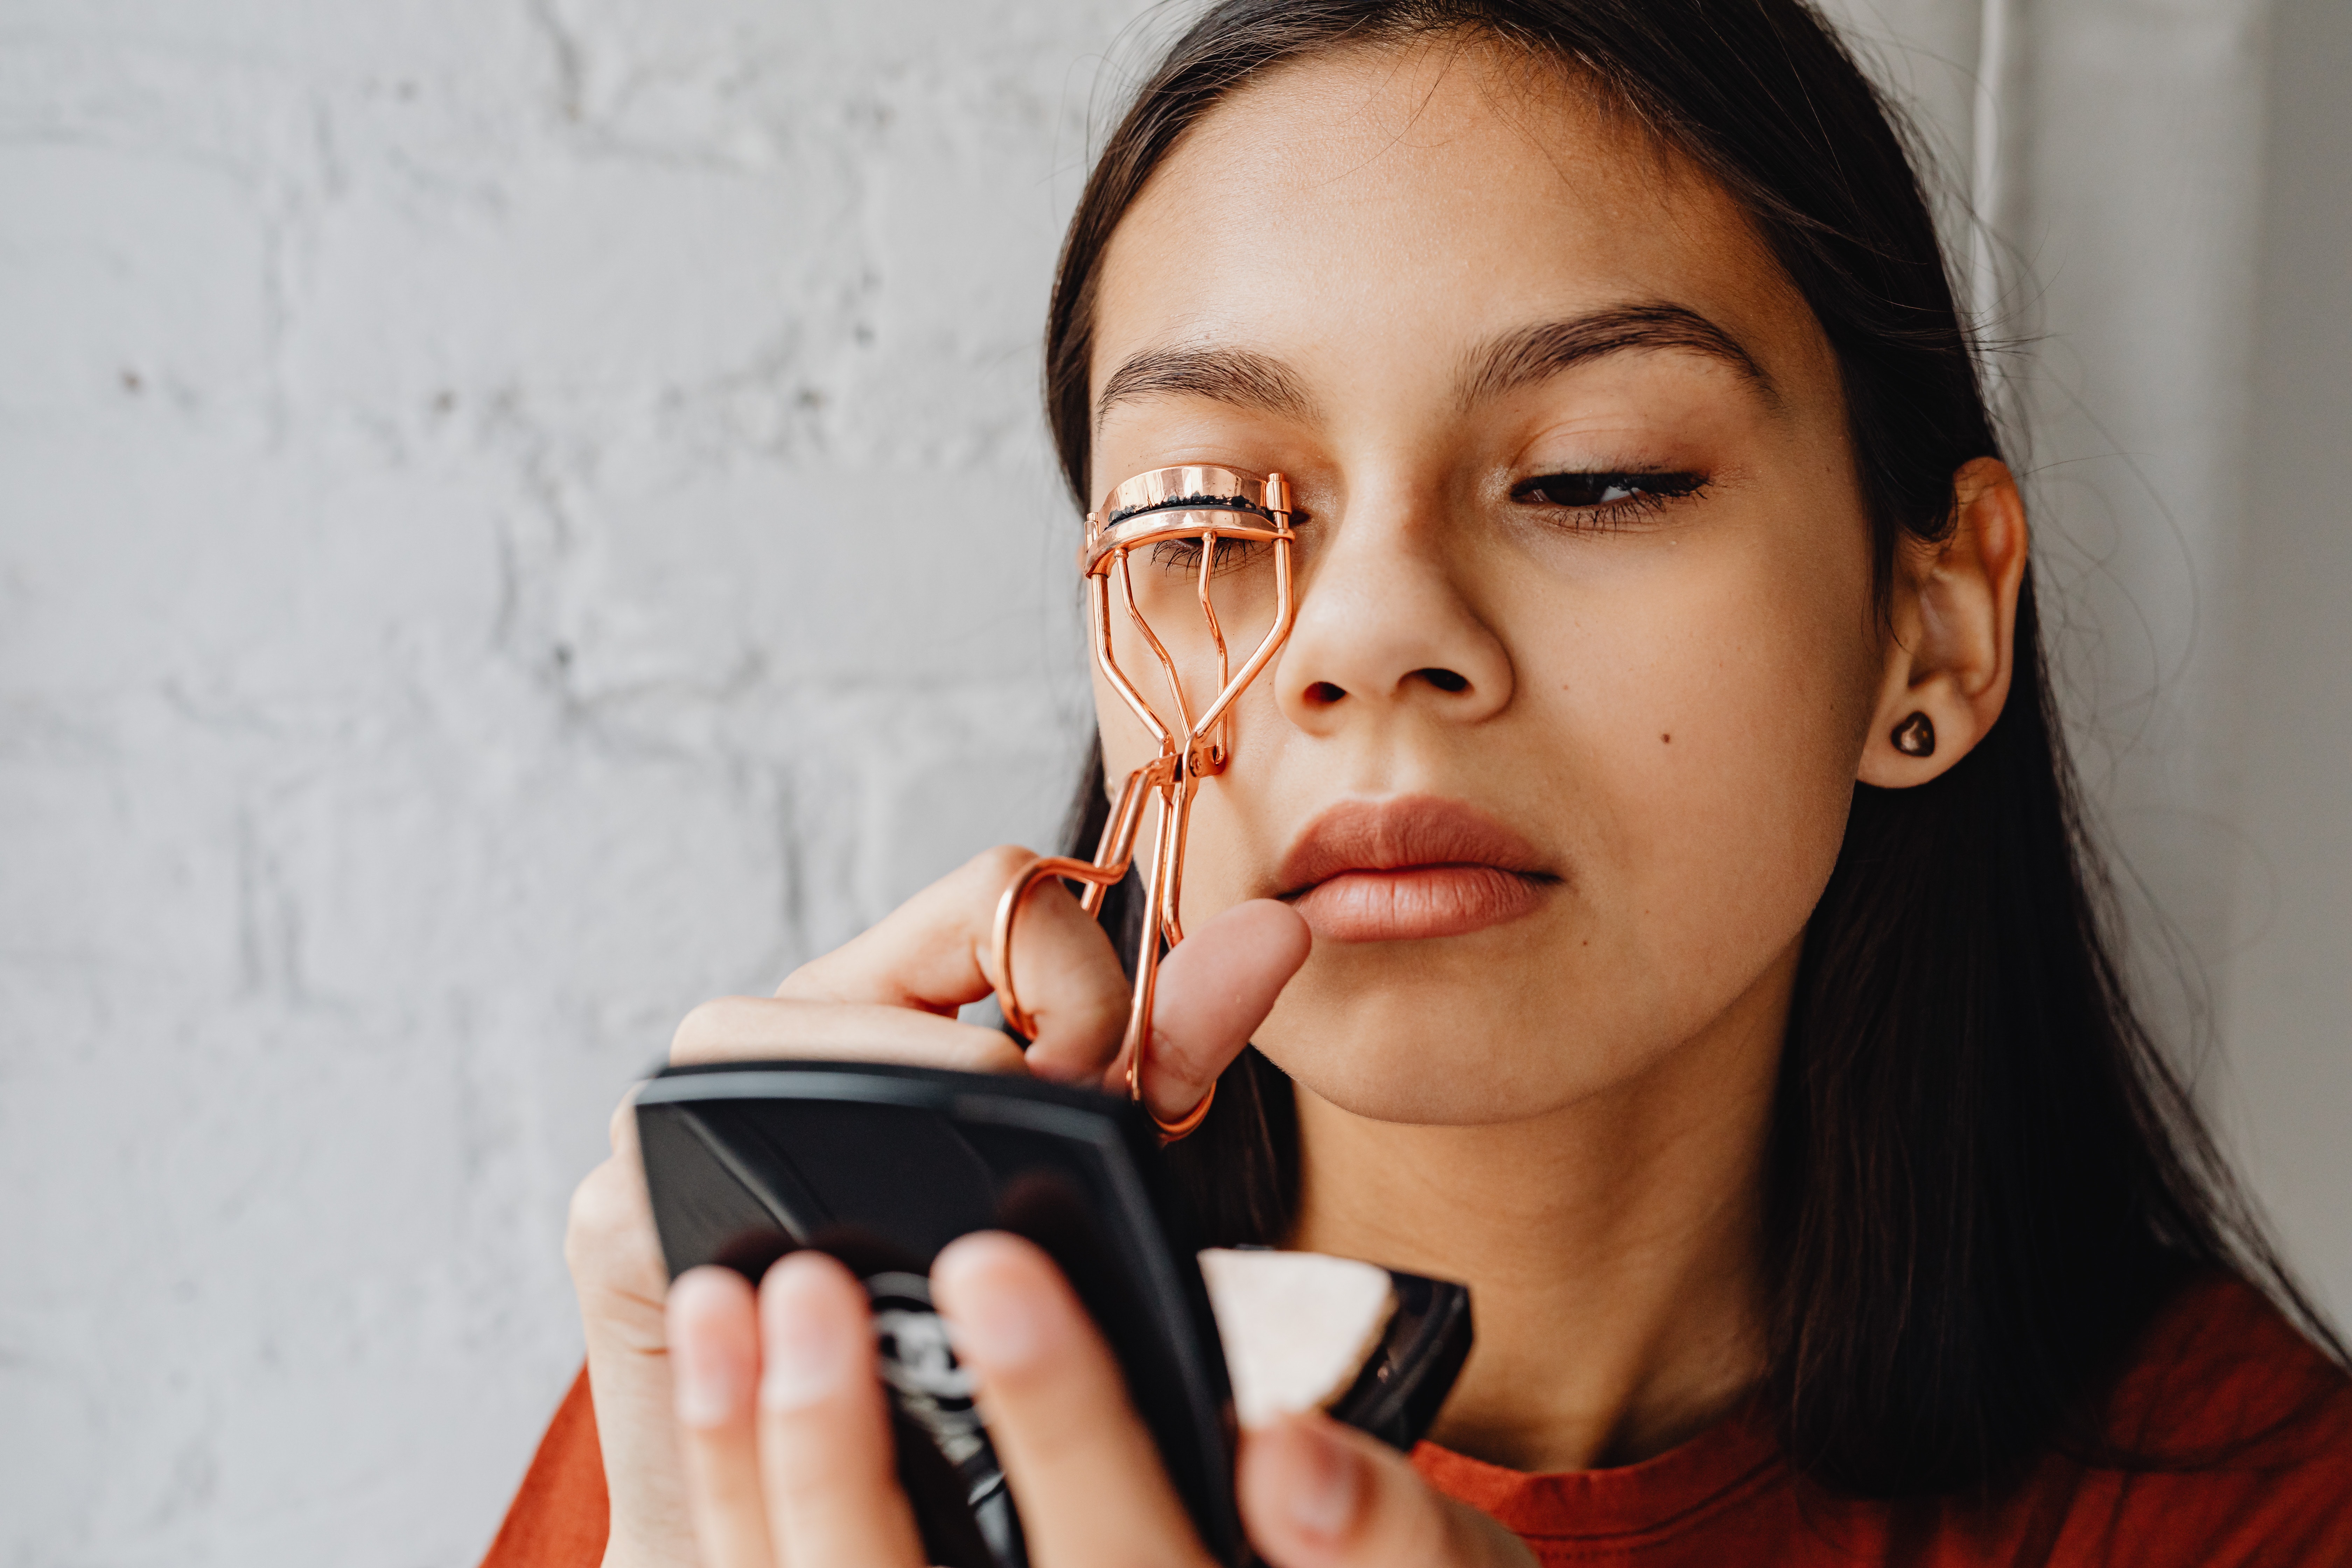
Prepare Your Natural Lashes:
Ensure that your natural lashes are clean and free from any makeup or oils. Use a lash primer or cleanser to remove any residue and promote better adhesion. Gently comb through your lashes with a spoolie brush to separate and untangle them.
Choose the Right Lash Extensions:

Select the type of lash extensions that best suit your desired look. Individual lashes offer a more customizable approach, while strip lashes provide a quicker application process. Opt for high-quality lashes made from synthetic or mink materials for a natural appearance.
Trim and Customize the Lashes:
.png)
Measure the lash extensions against your natural lash line and trim them to fit. Ensure the lashes are not too long, as they may cause discomfort or look unnatural. Trim them from the outer edge to maintain a more natural appearance.
Apply Lash Extensions:
.png)
Using tweezers, pick up an individual lash or a strip lash and dip the end into a small amount of lash adhesive. For individual lashes, apply a thin layer of adhesive along the lash band. Starting from the outer corner of your eye, gently place the lashes onto your natural lashes, close to the lash line. For strip lashes, apply a thin line of adhesive along the lash band and press it onto your natural lash line.
Secure and Repeat:
.png)
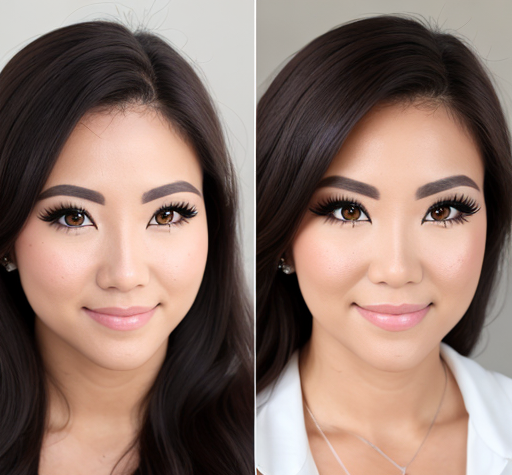
Finishing Touches:
.png)
After applying all the lash extensions, use a lash comb or spoolie brush to gently comb through your lashes, ensuring they are separated and clump-free. Trim any individual lashes that may be longer than desired. Optionally, you can apply a coat of mascara to blend your natural lashes with the extensions.
Removing Lash Extensions:
.png)
When you’re ready to remove your lash extensions, apply a lash glue remover to dissolve the adhesive gently. Use a clean spoolie brush to comb through the lashes, aiding the removal process. Avoid pulling or tugging on the extensions to prevent damage to your natural lashes.
Conclusion:
DIY lash extensions can be a cost-effective and convenient alternative to professional applications. By following these professional tips and guidelines, you can achieve beautiful lashes at home. Remember to prioritize safety, take your time, and practice to perfect your technique. With patience and a steady hand, you’ll be flaunting fabulous lashes that enhance your natural beauty.
