Introduction:
DIY bottle art is a wonderful way to repurpose old bottles and transform them into beautiful decorative pieces for your home. Whether you’re an experienced crafter or a beginner looking to explore your artistic side, this blog post will provide you with a comprehensive guide on how to make stunning bottle art. From choosing the right bottles to mastering different painting techniques, let’s dive into the world of DIY bottle art and unleash your creativity.
Gather Your Materials:
Before you embark on your bottle art journey, it’s essential to gather the necessary materials. Here’s a list of items you’ll need:
- Empty bottles (glass or plastic)
- Cleaning supplies (dish soap, water, and a bottle brush)
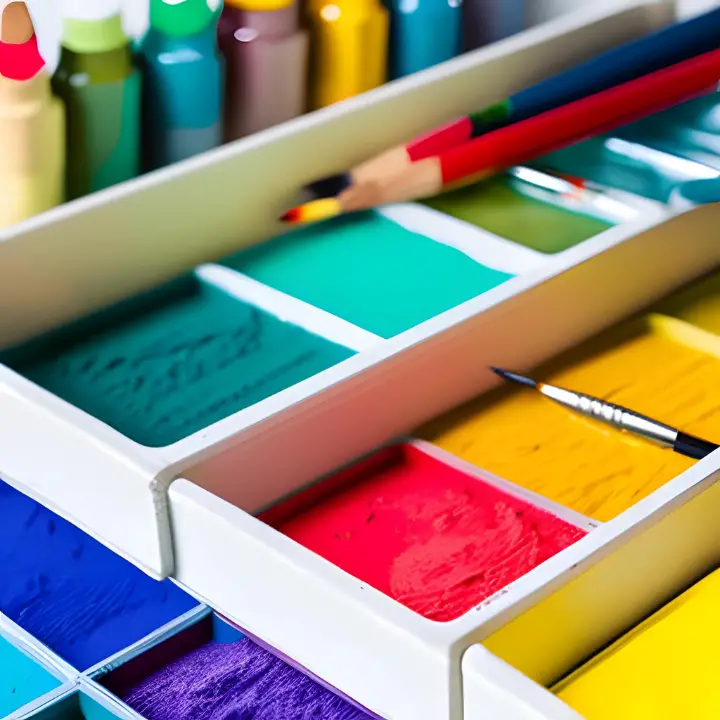
- Acrylic paints
- Paintbrushes of different sizes
- Painter’s tape
- Stencils (optional)
- Decoupage glue and tissue paper (optional)
- Sealer or varnish (to protect the finished art)
Prepare Your Bottles:
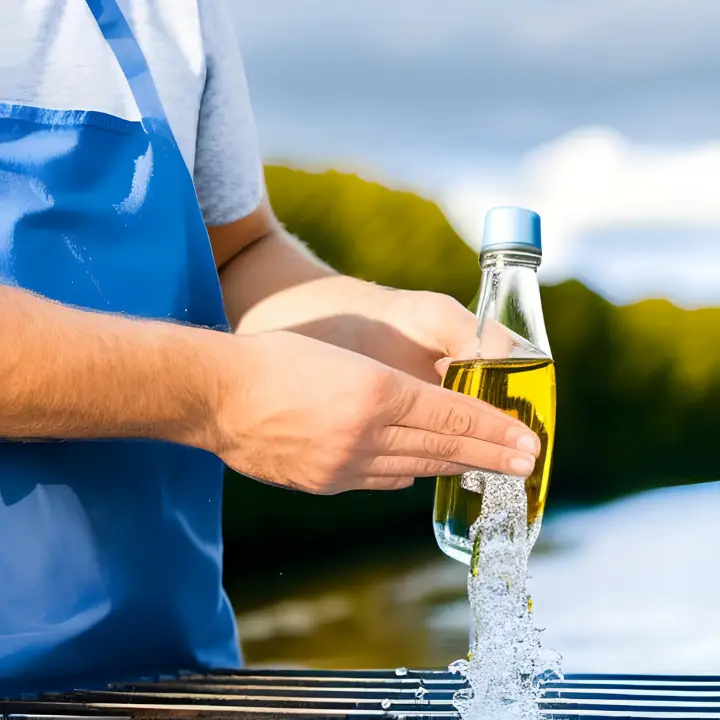
Start by thoroughly cleaning your bottles to ensure they are free from any dust or residue. Remove any labels or stickers by soaking the bottles in warm, soapy water. Use a bottle brush to scrub off any stubborn adhesive. Rinse the bottles thoroughly and let them dry completely before proceeding.
Choose Your Design:
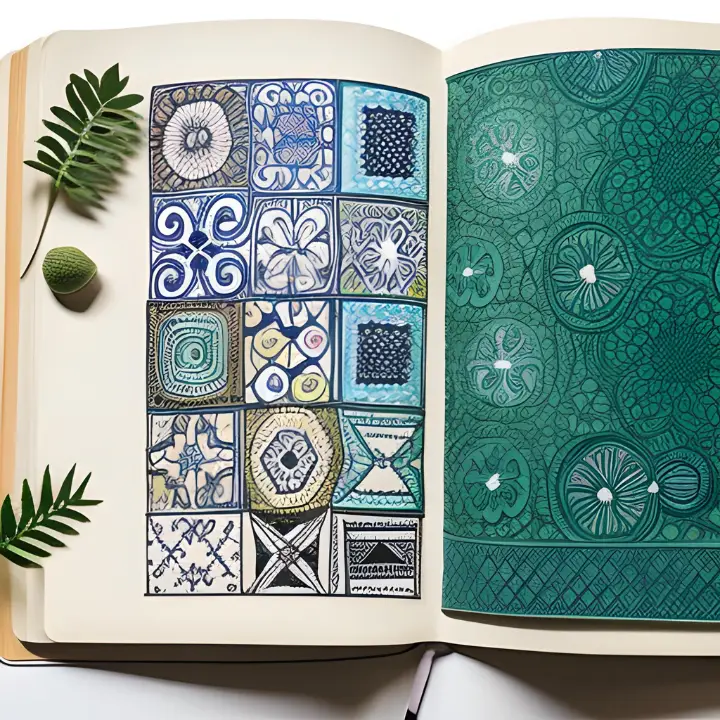
Consider the theme or style you want to incorporate into your bottle art. You can opt for simple designs like abstract patterns, polka dots, or stripes, or get inspired by nature, landscapes, or even pop culture. Sketch your design on paper beforehand to help visualize the final result.
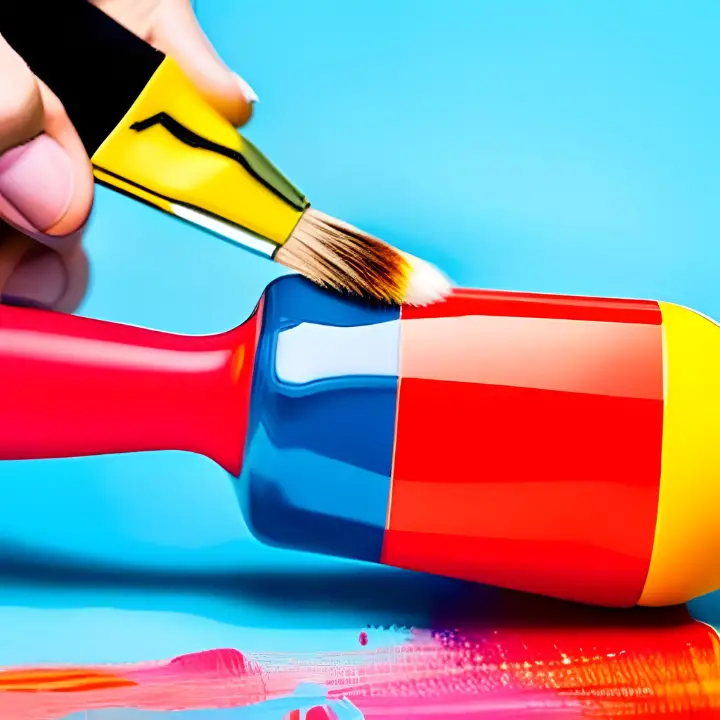
Apply Base Coat:
Apply a base coat of acrylic paint to the entire surface of the bottle. This will provide a solid background for your design and help the subsequent layers of paint adhere better. Choose a color that complements your overall design or opt for a neutral shade like white or black.
Painting Techniques:
Experiment with different painting techniques to add depth and texture to your bottle art.
Some popular techniques include:
Gradient blending:
Use two or more colors to create a smooth transition from one color to another.
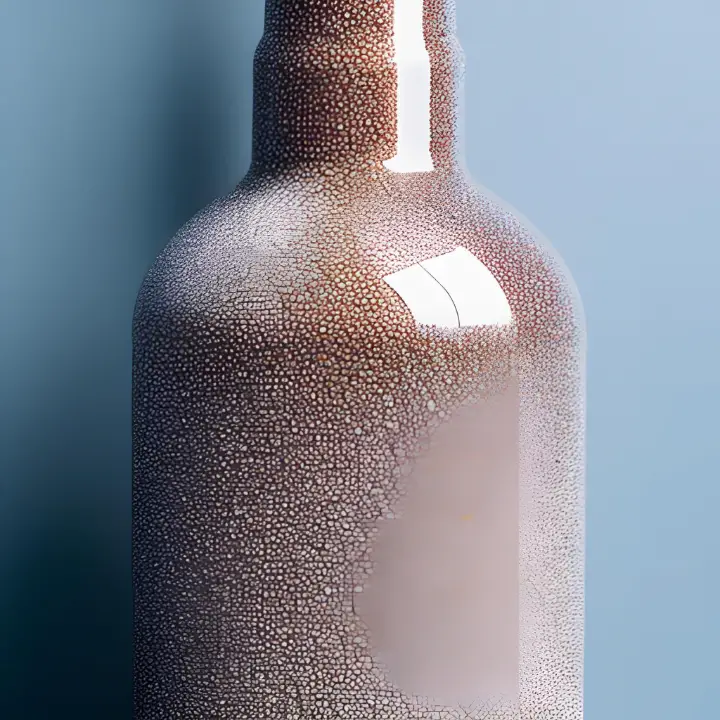
Stippling:
Apply paint in small dots or dots of varying sizes to create a textured effect.
Dry brushing:
Dip your paintbrush lightly in paint, then remove most of the paint by dabbing it on a paper towel. Apply the brush lightly over the bottle’s surface to create a worn or distressed look.
Incorporate Additional Elements:
To enhance your bottle art further, consider incorporating additional elements. You can use stencils to create intricate designs, decoupage tissue paper to add patterns or images, or even attach small trinkets or charms using glue.
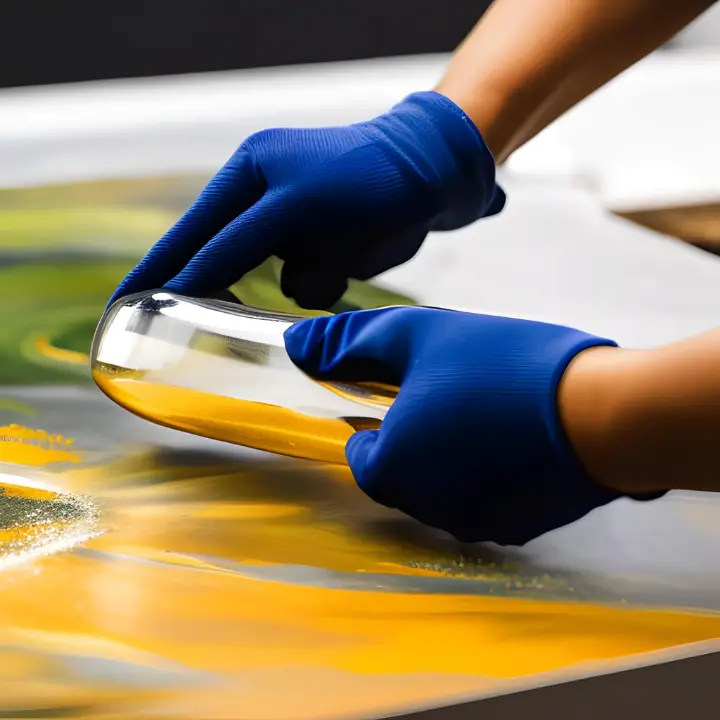
Finishing Touches and Protection:
Once you’re satisfied with your design, allow the paint to dry completely. To protect your artwork from scratches and ensure longevity, apply a layer of sealer or varnish. This will also give your bottle art a glossy or matte finish, depending on your preference.
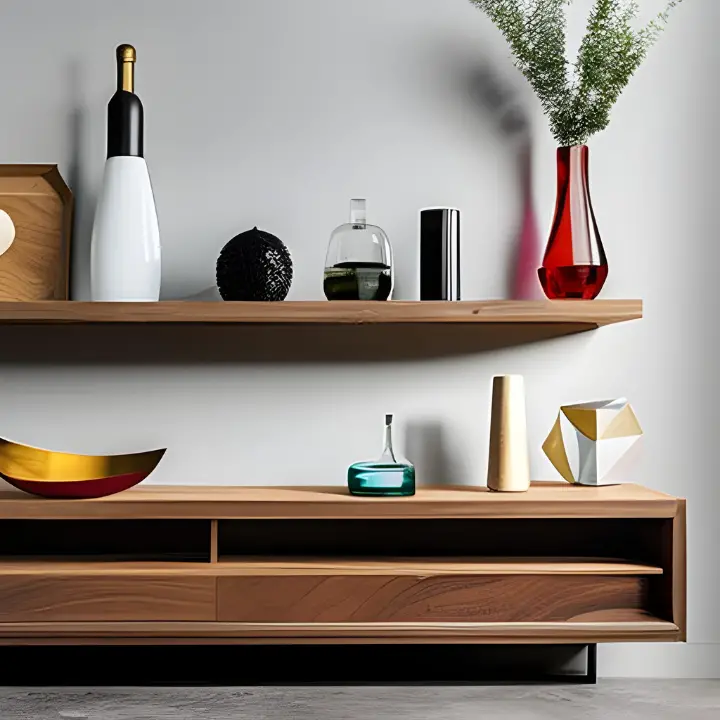
Display and Enjoy:
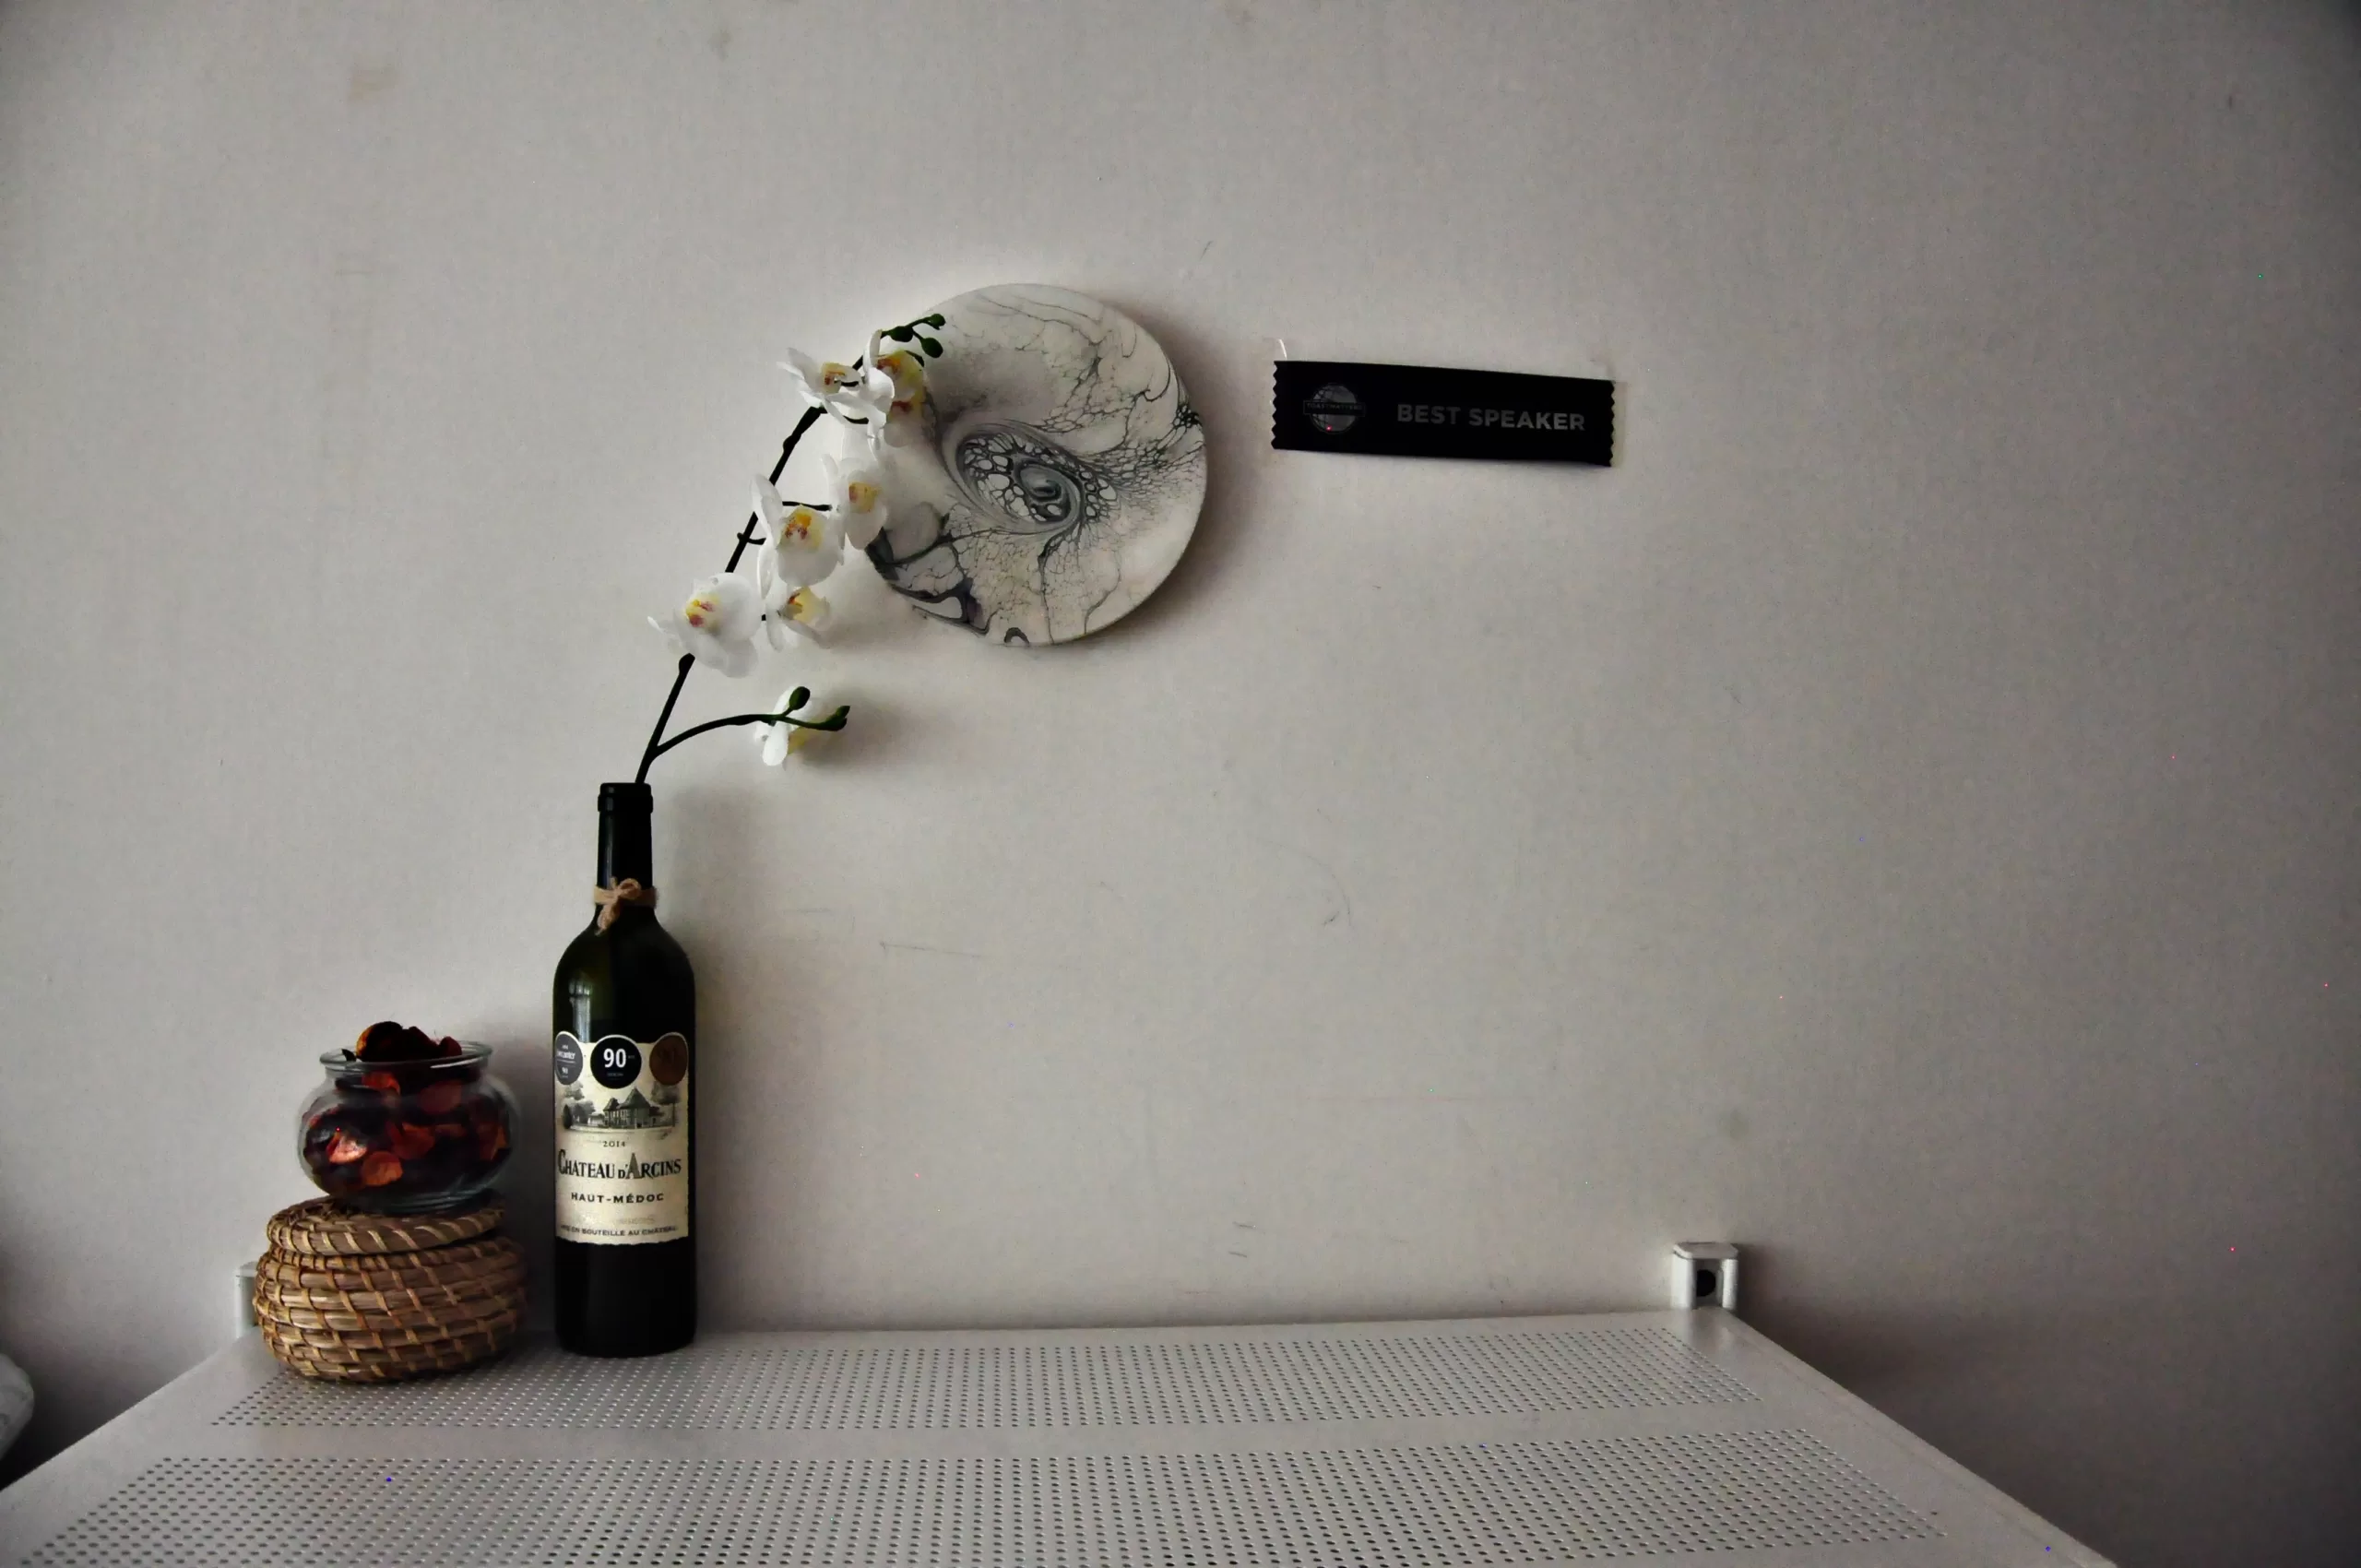
Now that your DIY bottle art is complete, it’s time to find the perfect spot to showcase your creativity. Arrange the bottles on a shelf, create a centerpiece for your dining table, or even hang them as wall décor. Admire your handiwork and bask in the satisfaction of transforming simple bottles into unique art pieces.
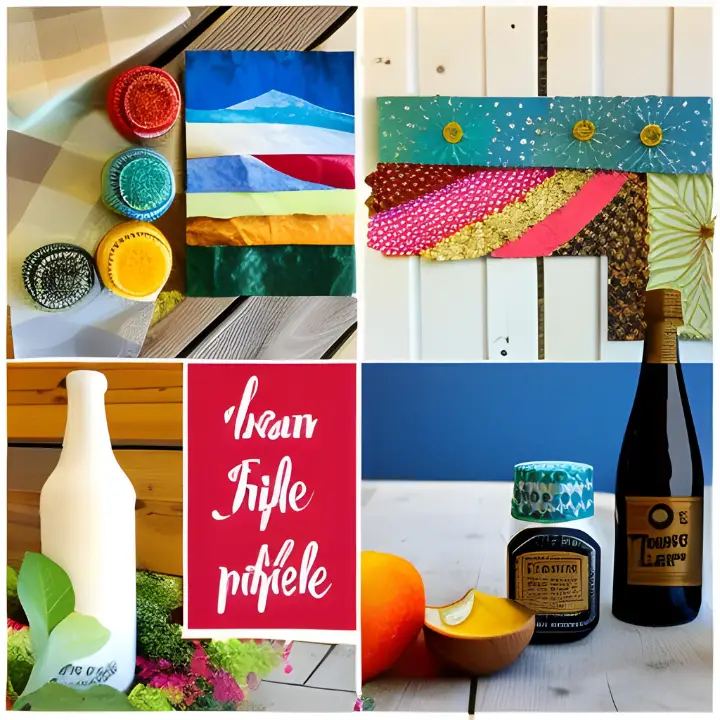
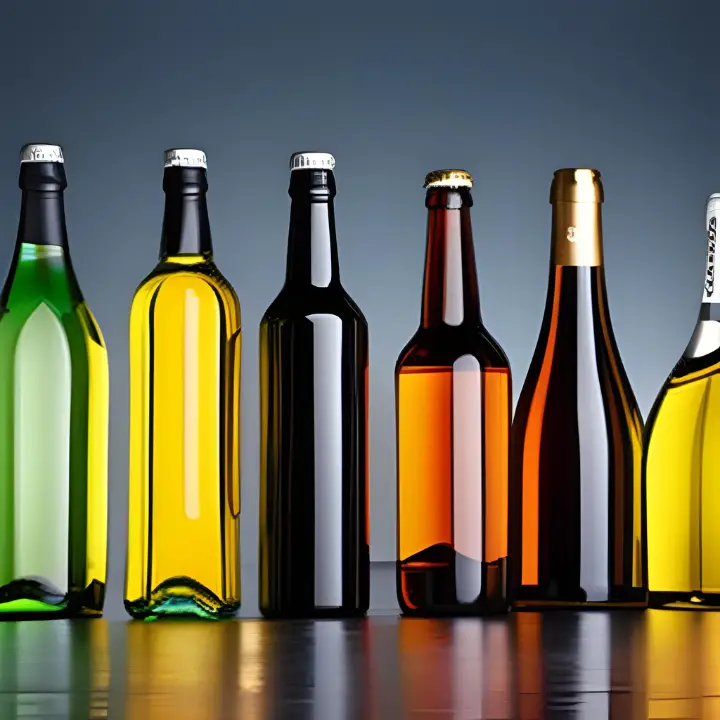
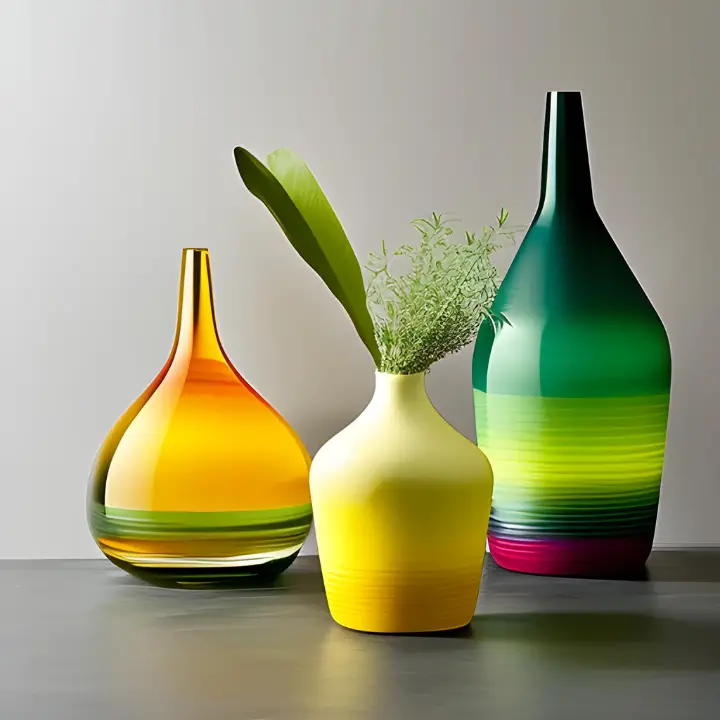
Experiment with Different Bottle Shapes and Sizes:
Don’t limit yourself to just one type of bottle. Explore various shapes and sizes to add visual interest to your bottle art. Try using wine bottles, mason jars, or even vintage soda bottles. Each bottle shape offers unique possibilities for your design and can make a striking statement in your home décor.
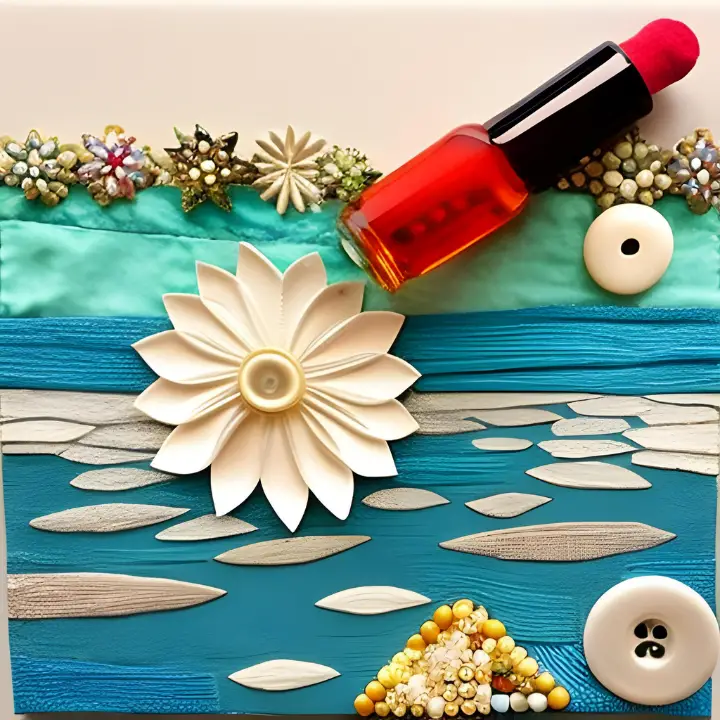
Incorporate Mixed Media:
To add a dynamic touch to your bottle art, consider incorporating mixed media elements. You can glue on beads, shells, or buttons to create a textured effect. Use twine or ribbon to wrap around the bottle necks, or attach small artificial flowers or leaves for a whimsical touch. Mixing different materials adds depth and visual appeal to your artwork.
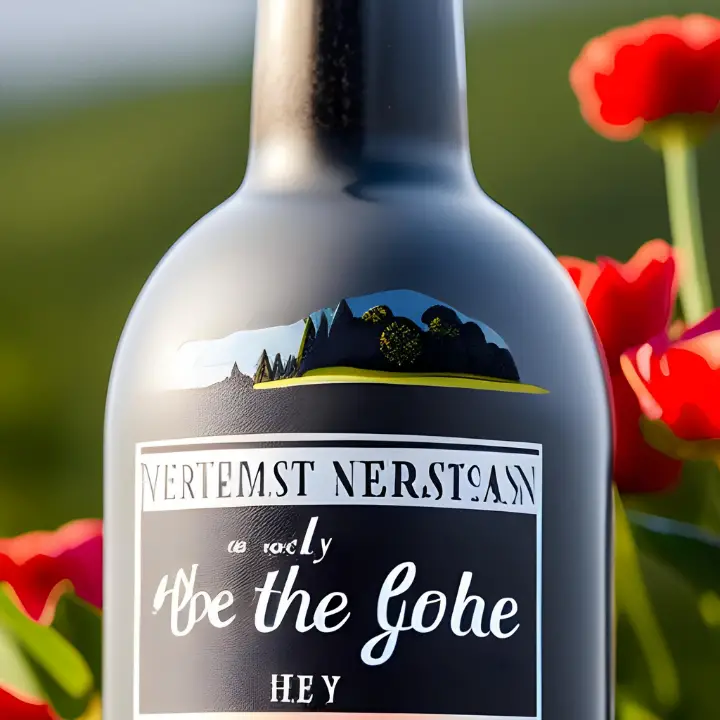
Personalize with Lettering or Quotes:
Add a personal touch to your bottle art by including lettering or meaningful quotes. You can hand-paint inspirational words, lyrics, or phrases that hold significance to you or your loved ones. Use stencils or transfer lettering techniques to achieve precise and professional-looking results.
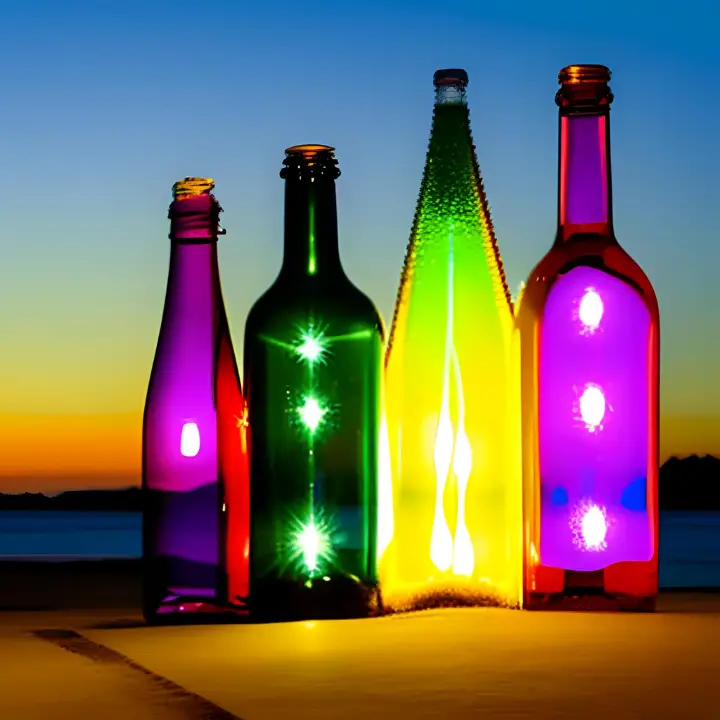
Experiment with Lighting:
Bottle art can be enhanced by incorporating lighting effects. Insert fairy lights or LED string lights into the bottles to create a captivating glow. The soft illumination will highlight the details of your artwork and create a warm ambiance in any room. Consider using colored lights to add an extra pop of visual interest.
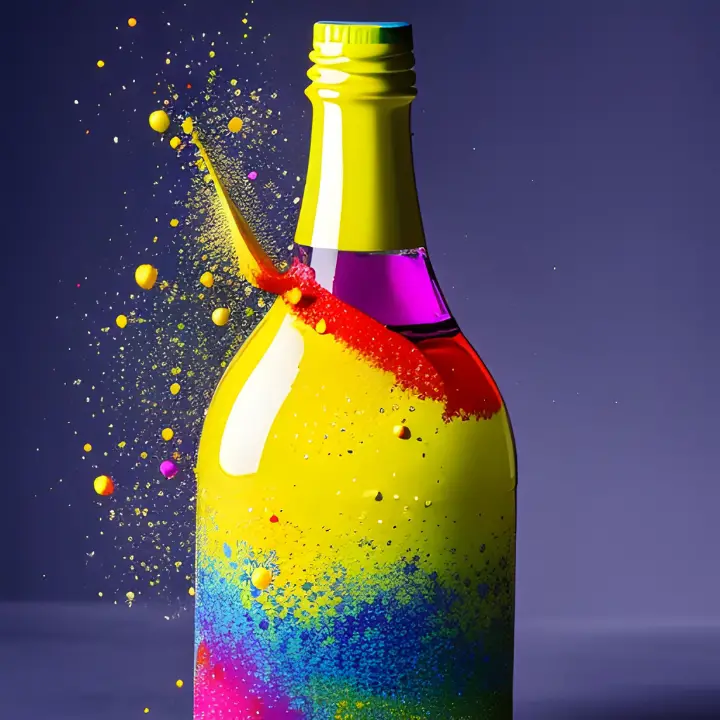
Try Different Paint Effects:
Explore various paint effects to create unique and eye-catching designs on your bottles. Some popular techniques include marbling (using multiple colors to create a swirling effect), splattering (flicking paint onto the surface for a playful look), or even using metallic or glitter paints for a touch of glamour.
Upcycle with Bottle Cutting:
If you’re feeling adventurous, you can take your bottle art to the next level by learning how to cut and reshape bottles. With the proper tools and techniques, you can transform bottles into vases, candle holders, or even drinking glasses. Bottle cutting adds a whole new dimension to your creative possibilities.
Join Online Communities or Workshops:
Connect with fellow bottle art enthusiasts by joining online communities or attending workshops. Engaging with like-minded individuals allows you to exchange ideas, learn new techniques, and gain inspiration from others’ creations. It’s a great way to stay motivated, expand your skills, and discover new trends in the world of DIY bottle art.
Conclusion:
Remember, the most important aspect of DIY bottle art is to have fun and let your creativity flow. Experiment, try new things, and don’t be afraid to make mistakes. Each bottle art creation is a unique expression of your artistic vision, and the process itself is a rewarding and fulfilling experience. So, grab your brushes, let your imagination soar, and enjoy the journey of creating beautiful DIY bottle art.